Many companies have embraced ergonomic workstations to improve productivity and employee wellness. However, striking the perfect balance takes more than merely acquiring furniture and setting up an ergonomic desktop.
For that, you'll need to induce the principles of ergonomic reach zones. These practices revolve around grouping the parts of your workspace into 4 reach zones. It effectively makes your workspace more accessible and tidier. It may also have a positive impact on your posture and productivity.
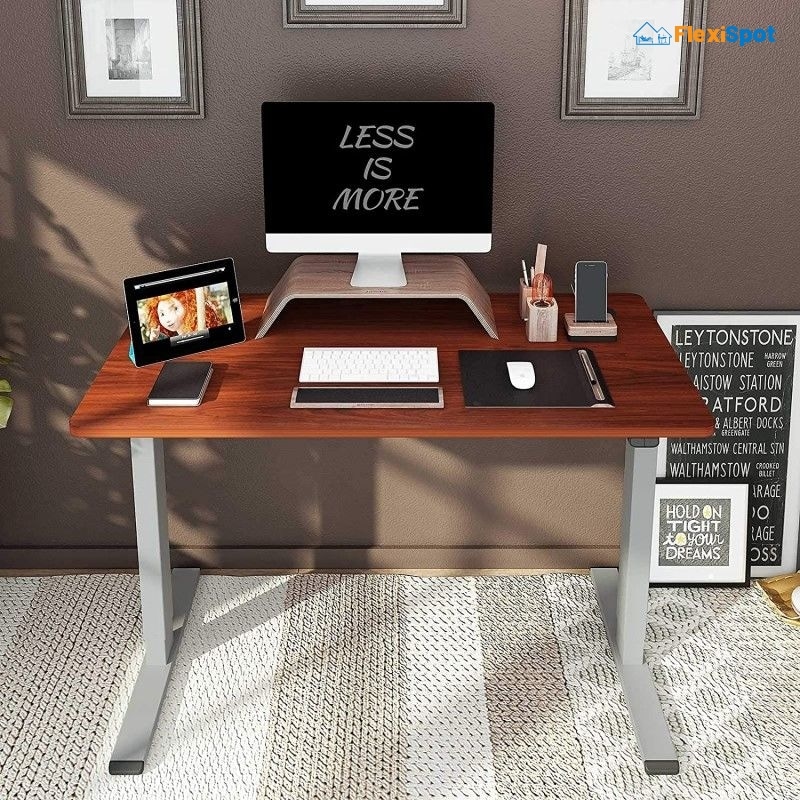
Another benefit to this minimalistic approach is a freer mind - Your thoughts are less crowded by all the clutter. Your employees' productivity also improves because they spend less time rummaging through files and stationary while at work.
Sure, terms like 'ergonomic reach zones" may sound complicated. But, as you keep reading, you'll discover that such concepts are within reach, and they can change your life. So let's keep moving as we explain how you can use various ergonomic reach zones to improve overall productivity in your office.
What Are Ergonomic Reach Zones?
An ergonomic reach zone is an area where you can comfortably access items in your workspace without standing, stretching, or bending your body in any fashion.
Most workstations are characterized by (3) vertical and (4) horizontal reach zones. Any object within zone 1 (neutral or optimal reach zone) can be reached without effort or by sweeping forearm motions across the desktop. This allows you to keep your elbows closer to your body, relieving shoulder tension.
From there, the reach zones flow down the hierarchy depending on how easy it is to access items.
Types of Ergonomic Reach Zones
Zone 1: The vertical neutral reach zone
Zone 1 consists of anything within 5 to 8 inches below or above the ideal desk height. Horizontal zone 1 is where we do most of our work, i.e., where you place your keyboard, mouse, posted notes, or anything else you use frequently in your tasks. This adds loads of convenience to your work life because it minimizes body movement.
But remember that this zone is also where you are most likely to bump into things, so it's important to keep it clear of clutter.
Zone 2: The Secondary Zone
Zone 2 is an 8 to 12-inch space above and below your shoulder height. So, You'll need to stretch your arms away from the body to reach items within this area. You may also need to extend your arm straight up for items in the middle of this zone.
Therefore, it makes sense to fill this area with the items you need throughout the day but those that you use less frequently. These may include photocopy paper, toners, or reference materials.
Zone 3: The Tertiary Zone
This is a 30 to a 44-inch horizontal area away from your body. It's also referred to as the Maximum Extended Reach area, as you have to strain or get off your ergonomic office chair to get to anything past 12 inches from your shoulder.
Aside from fully stretching your arms, you may also need to bend, twist your waist or move your entire upper body. This area is perfect for those things you don't use much. You also want to avoid reaching for things in this zone too frequently, as it will strain your back and neck muscles.
Zone 4: The Storage Zone
Zone 4 consists of anything over 44 inches in the horizontal plane. That's why it's mostly used for storage or lining your office with commendations or decorations. Most workstations don't have zone 4 since their overall footprint is less than 44 inches. However, they are common in open offices and other collaborative spaces.
Here's a table detailing the intricacies of horizontal and vertical zones:
Horizontal Ergonomic Reach Zones
|
Zone |
Other names |
Area within your workstation |
|
Zone 1 |
Primary, Neutral or Optimal |
15 to 17 inches |
|
Zone 2 |
Secondary |
17 to 30 inches |
|
Zone 3 |
Extended reach |
30 to 44 inches |
|
Zone 4 |
Maximum reach |
Over 44 inches |
Vertical Ergonomic Reach Zones
|
Zone |
Other names |
Area with your workstation |
|
Zone 1 |
Primary/ Neutral/Optimal |
10” – 16” (5”-8” above & below neutral) |
|
Zone 2 |
Secondary |
16”- 24” (8”-12” above & below shoulder height) |
|
Zone 3 |
Tertiary or Maximum |
Tertiary (Maximum) >24” (more than 12” above shoulder height) |
* These guidelines work for most people. However, you may need to apply some standard deviation if you are shorter or taller than average.
Why is the Neutral Reach Zone Significant?
Putting frequently used desktop items in this area allows you to reach them while maintaining a neutral posture. This ensures your spine, head, and shoulders are in constant proper alignment. With such a setup, you can sit or stand at a height adjustable desk for extended periods with reduced chances of developing aches.
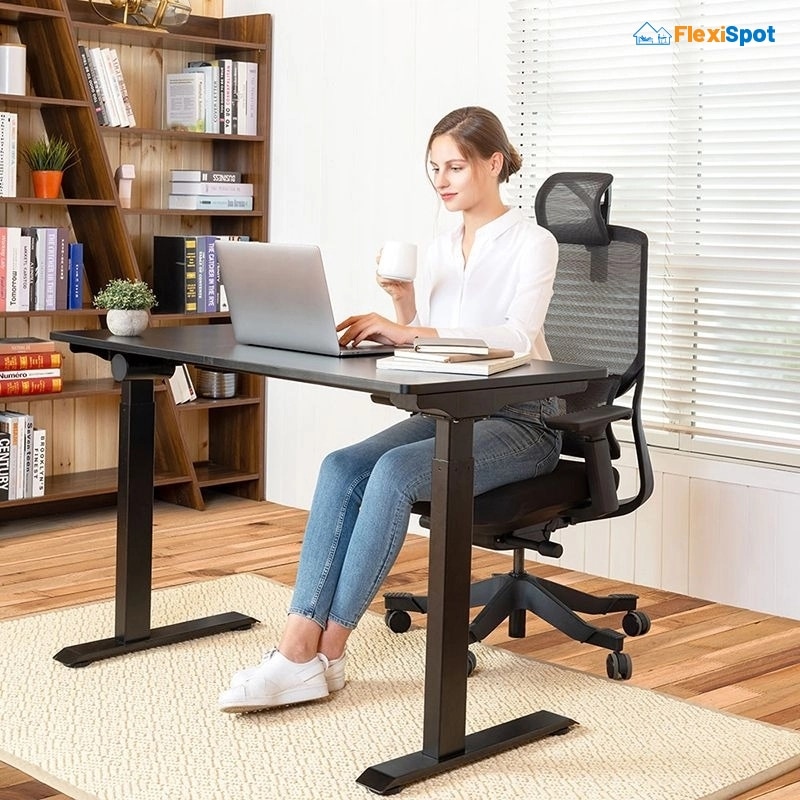
Achieving a Neutral Position While Sitting
Rest your feet flat on the floor
Ensure that your hips and knees bend to a 90-degree angle
With that, the back of your ergonomic office chair supports the natural curvature of your spine
Rest your shoulders and arms comfortably on the side
Keep your wrists parallel to the floor
With such neural positioning, you can perform tasks like typing or picking up items without having to extend your arms or flex them downwards. This results in more focus and less fatigue as your spine is properly supported. It also ensures there is proper blood circulation to all your muscles.
Achieving a Neural Position While Standing
Plant both feet on the floor
Ensure that your knees are unlocked ( they can flex or bend slightly to balance the body during small movements)
Keep your hips straight and unlocked
Your arms should rest or move comfortably to the side (like in the sitting position)
Your wrists should also be in the neutral position.
This neural standing position allows your elbows to bend approximately 90 degrees while keeping your forearms parallel to the floor at all times. Your tasks become easier once you put frequently used office items in a neat storage rack in horizontal zone 1. Other perks include less nausea and muscle aches, and focusing more on your tasks.
The Impact of the Neutral Reach Zone
The International Journal of Occupational Safety and Ergonomics dedicates loads of time to investigate the effects of workstation setups on the body. The organization used sEMG (surface electromyography) in a recent study to measure the effectiveness of the four main ergonomic reach zones on various muscle groups.
Key takeaways from this study include
1. Your body's posture and positioning while working have a significant impact on muscle tension.
2. Keyboard and mouse placement also impacts your experience but is the most ignored factor when considering office space ergonomics.
Working from within your neural ergonomic reach zone promotes proper posture. This can significantly reduce stains on your neck, back, and shoulder muscles. It's also the best way to prevent RSI (repetitive strain injury) and counter musculoskeletal disorders.
Next, let us look at the methods you can use to maximize the benefits of ergonomic reach zones within your workspace.
How to Set Up Ergonomic Reach Zones in Your Office
Now, it's time to put everything we've learned into practice. For the best results, it's best to arrange your equipment and workspace in the following order:
1. Keyboard
2. Chair
3. Monitor
4. Mouse
5. General work area
The Keyboard
Where to start can be challenging if you keep a cluttered workspace. Since we're not attempting a complete office renovation, let's work with what we have. The keyboard placement is the anchor that holds this ship in place.
From there, we'll adjust the chair to patch the keyboard height. Then run through all the items on our list.
The B & N Keys are the center of the keyboard. So, start by ensuring your nose aligns with this zone.
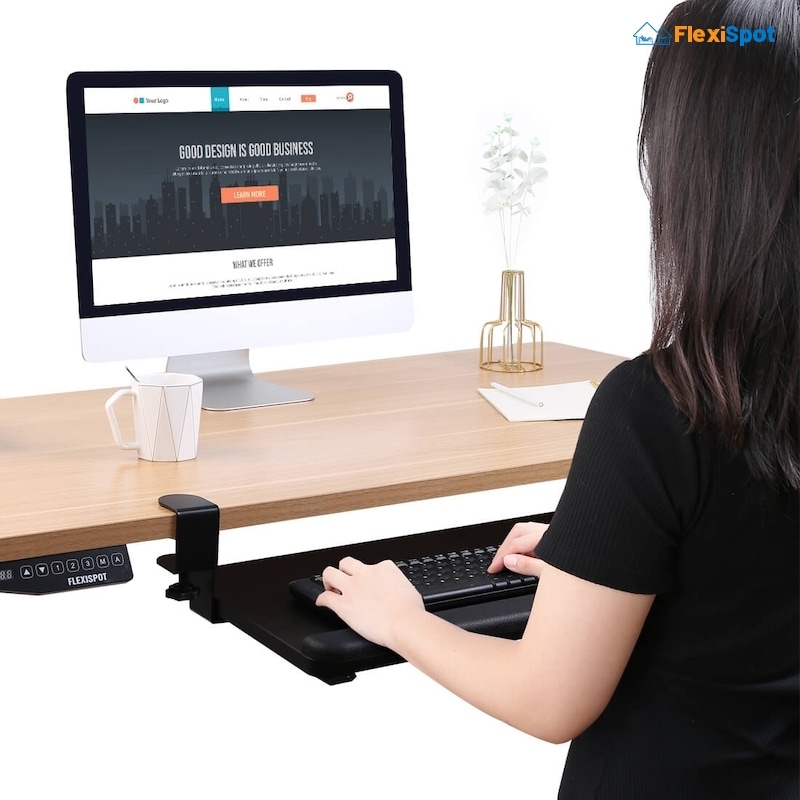
Lay the keyboard flat or in a slightly negative tilt (away from your body) if you have a keyboard tray. This eliminates wrist bending and the associated pressure point pain.
Your elbows should maintain a constant 90-degree tilt. This allows you to keep your wrists on the desktop and your hands floating freely over the keyboard. Next, let's adjust the chair to achieve this.
The Chair
The office chair is the most essential piece of furniture. However, it's not uncommon to find people adjusting their chairs to awkward positions, which often leads to disastrous effects. So let's look at how we can avoid this:
Relax your shoulders and hang your shoulders freely to the side.
Ensure your hips, shoulders, elbows, and ears align vertically.
Keep your feet flat on the floor.
Adjust the chair height so that your elbows reach the same height as the space bar on the keyboard.
Next, adjust the chair's lumbar support until you are comfortable. This allows it to cradle you while maintaining the natural curvature of your spine.
Ensure your knees are even or slightly below your hips, and there's a 2 to 3-inch gap between them and the seat pan
Adjust the armrest height, so it's just below the keyboard height. This support ensures that your arms don't tire as they clunk away at the keys.
The Monitor
A standard distance of 18 to 30 inches away or arm's length from the user comes highly recommended. As for the height, you can start by ensuring your chin is straight. Then adjust the height so that the top of the screen is at eye level.
Such monitor placement ensures that you can view the screen without tilting or bending your back and neck. It also ensures your shoulders are always relaxed and your wrists don't get those knots at the end of the day.
The Mouse
Mouse positioning is straightforward. All you need to do is ensure it's as close to your keyboard on your dominant arm. So, you can move anything like your coffee mug or notepad away from that area - that's all there is to it!
However, you should consider getting a gaming mouse or a vertical ergonomic mouse if your work requires significant mouse input. Such devices have larger surface areas. This reduces the stress on the wrists, which eliminates wrist pain and other symptoms of carpal tunnel.
The General Work Area
We've covered a lot about general workspace ergonomics. So, let's just recap. The main goal here is to ensure you can reach office equipment with minimal strain.
Let's split the area into 3 zones to minimize your reach distance:
Primary Work Zone
This is the distance from your hand to your elbow when placed at a right angle on the work surface. Place your notepad, pen, keyboard, mouse, or any item you use frequently in your daily tasks.
Secondary Work Zone
This zone is the area within your arm's reach and the perfect spot for your monitor. You can place all the items you use infrequently or are not critical for hourly operations. It also makes an ideal place to add some decorations if you have plenty of desktop space.
Reference Zone
Now, here we're outside your arm's reach. Use this zone for potted plants, storage, or for the least used items in your office.
From there, your next huge task will be keeping your office space free of clutter. Sure, some people like to nurture creative piles. But, a severely cluttered workspace eventually prevents you from working in an ergonomically safe environment. Also, try your best to resist the temptation of using your under-the-desk area as storage - it is meant for your legs!
Rinse & Repeat Until You Get It Right!
Consistency is key to true ergonomic reach optimization. So you may need to re-arrange everything periodically, which can be frustrating, but the results are worth the effort.
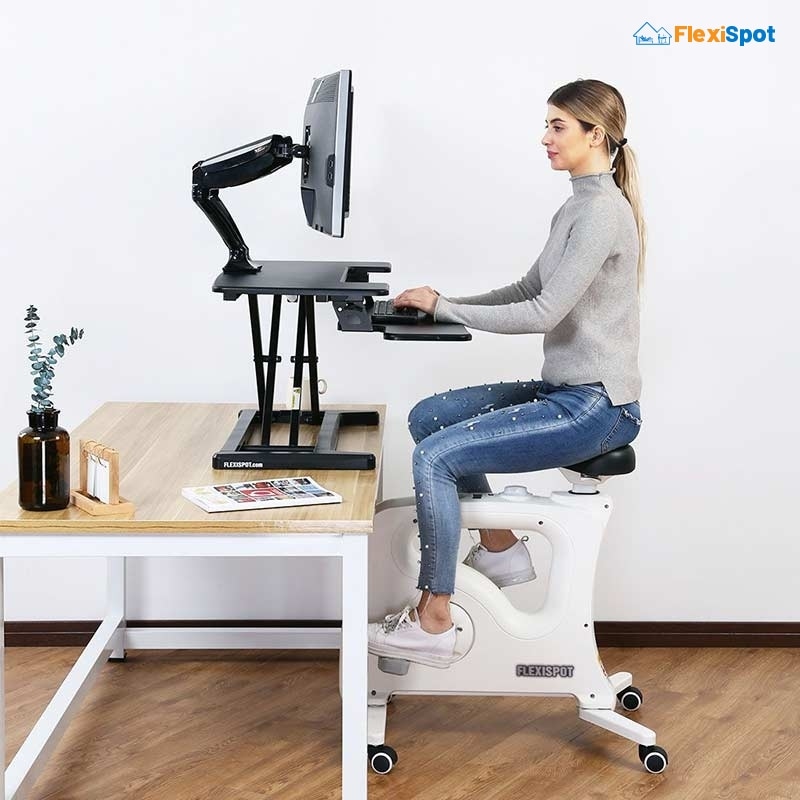
Prolonged repetitive activity can lead to MSDs (musculoskeletal diseases). You may feel some strain and pain in your muscles and joints even if you follow these principles to the letter. Fortunately, you can counter this by switching to different activities. Or even adding some office fitness equipment to the mix.
At Flexispot, we have all the furniture and related accessories you need to exploit your ergonomic reach zones. Become a member of our family and receive massive discounts and exclusive customization on selected products.


