There may be no perfect time other than now to produce your own music. There are many platforms online where your music can spread like wildfire. Gone are the days that you need to work at a traditional studio to produce music. Even the biggest musicians like Taylor Swift and Billie Eilish have produced some of their biggest releases made at home. Of course, they were backed up by major labels but that still doesn’t mean you can’t make a professional-sounding record on your own.
According to DIY Musician, “music production is the process of capturing analog sound waves on a reproducible medium through a recording device.” You are an expert at this process if you are a music producer who manages every phase of the recording process, making sure everything sounds great and in line with your vision as well as the music artists.
Music Production can be traced way back to the late 19th century. A producer would use a phonograph machine back then that would cut music into an aluminum cylinder. This phonograph evolved to a gramophone in the early 20th century. This time, it used wax master discs as a medium. Music was recorded live in one-take sessions. If an artist makes a mistake, the recording would restart from the very top.
World War II then produced magnetic tapes which were used by audio engineers from the Allies to monitor the broadcasts of the German radio. They discovered that the broadcasts weren’t live, a medium that was commercially used by the Americans post-war.
A magnetic tape made the production a lot easier than a gramophone recording. As was mentioned, gramphones could only do one take whereas magnetic tapes introduced the process of editing wherein it can splice together different recording takes. If they were doing a recording of groups with multiple vocalists, the members could each record their parts separately.
By this time, the music producer’s job was not only to operate a machine but to also lead the creative and artistic direction of the record. Over time, music producers have developed their signature sounds and usually serve as the songwriters of the record. They sometimes are the artists themselves.
At present, at-home, DIY music production is already a possibility. These are the tools that you would need to record and produce your own music in the very comfort of your own home.
1. Computer or Laptop.
Note that most digital audio workstations (DAWs) need at least 8 gigabytes of RAM. This could account for 25 audio tracks with different instrument effects. Prepare a hard drive as well with storage that amounts to at least 256 to 500 gigabytes. SSDs or solid-state hard drives have better writing and reading speed. This storage space will be used for your uncompressed audio files.
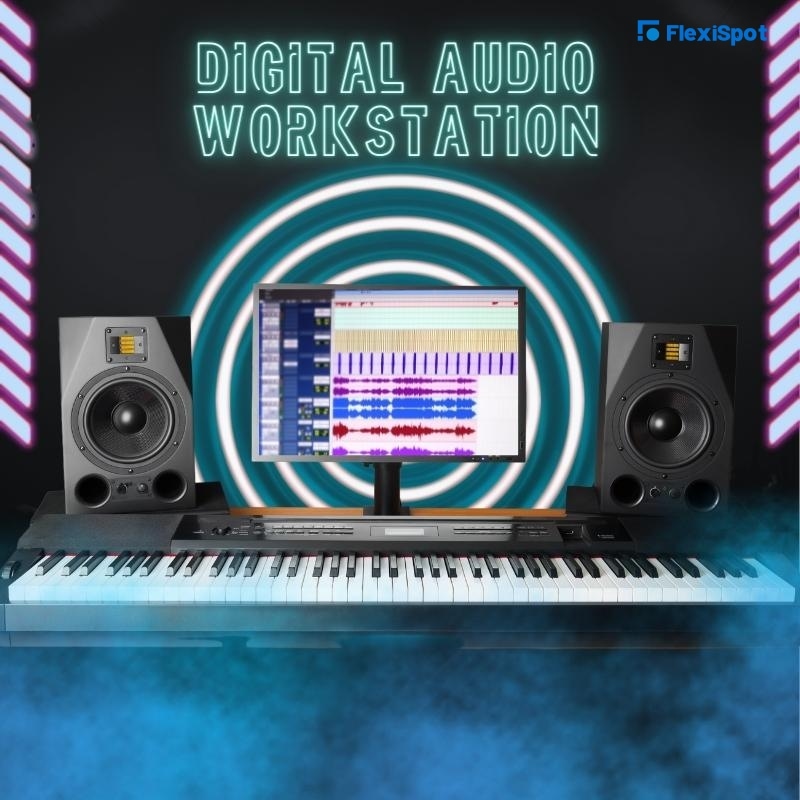
2. Digital Audio Workstation (DAW).
To produce music, you’ll be running DAW on your computer. You may get one for free for a thousand dollars with monthly subscriptions. If you’re just starting, you can already make do with a basic tier because they already offer 16-track recordings and would already have essential features. Just make sure that whatever DAW you get, it should be compatible with your computer. Examples of which are Sonar, Studio One, Garageband, Audition, Live, Logic Pro, Pro tools, LUNA, and Cubase.
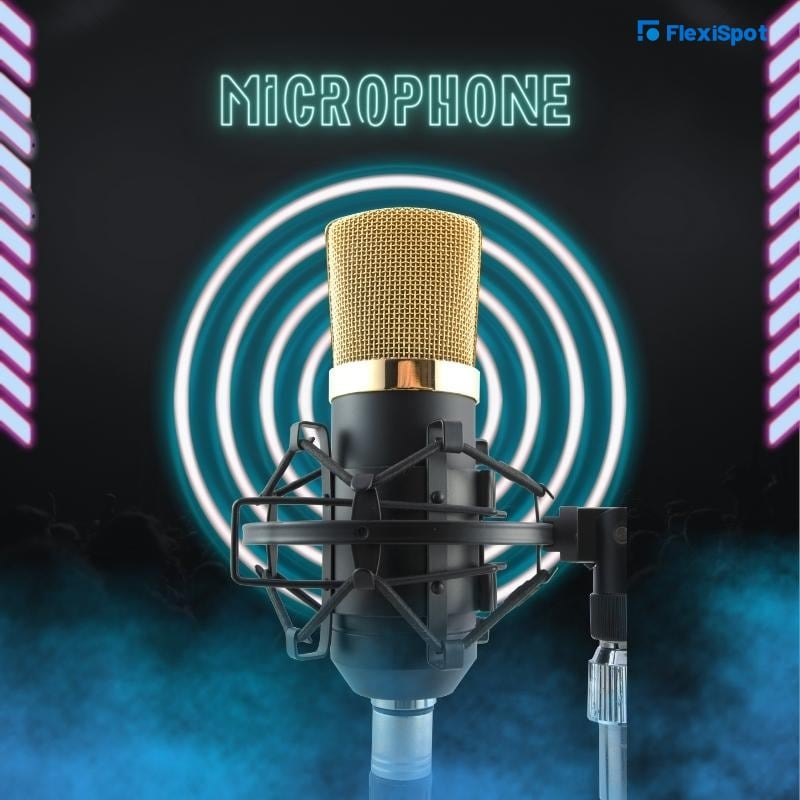
3. Microphone.
Of course, you need a recording device to record your analog sounds or voice and musical instruments. You don’t have to break the bank and at this time, can already get a quality studio microphone for even under a hundred bucks. Determine first what type of recording you’ll be doing so that you could assess what type of microphone you need, whether it be a dynamic or a condenser type.
If you’re using it for live gigs or will be using amplified instruments, then dynamic microphones must be your play. This type uses a moving coil magnetic diaphragm. Examples are Shure SM57, Sennheiser e 835, and the AKG D5.
Condenser microphones, on the other hand, are best suited for precision recording because they come with a technology that’s more accurate than the dynamic type. This type uses a conductive diaphragm and would vibrate with sound pressure. If recording vocals and acoustic instruments, producers use this type. Take note that you have to get an outside power source to operate on XLR output but if you have an audio interface, then you’re set. Examples are the AKG P120, Rode NT-USB Mini, and Samson C01. If you have more budget, you may get one of these for about a thousand bucks: Rode NTK, United Studio Technologies UT FET47, or a Mojave Audio MA-201fet.
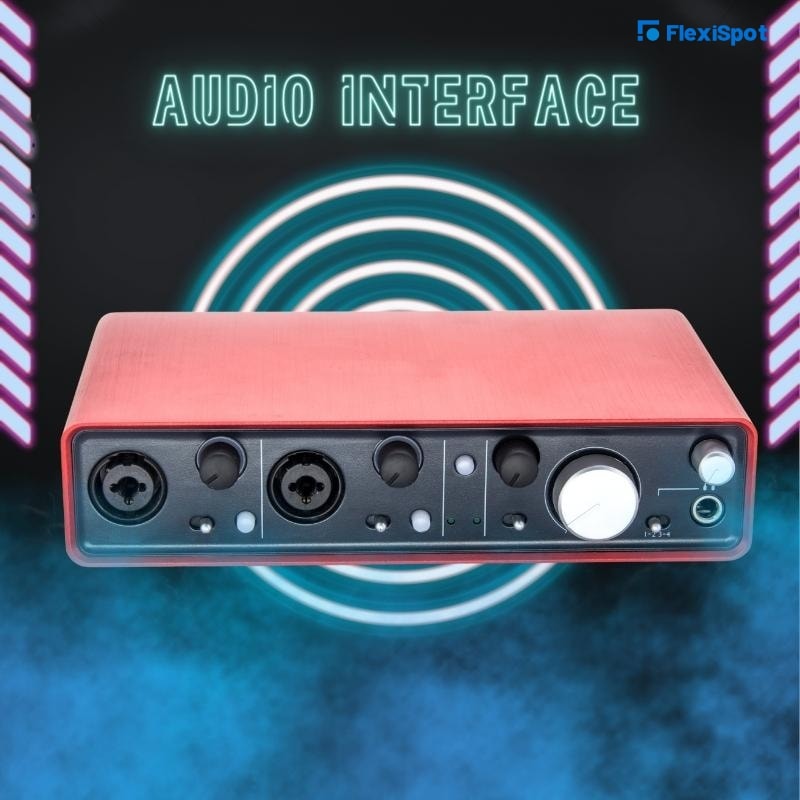
4. Audio interface.
The next thing you need is a tool that will convert those analog sounds into digital signals. This is called an audio interface which is a physical box that will be connected to your computer’s USB port. Some audio interfaces that music producers love are SSL 2+, Universal Audio UAD Apolo Twin Mk11, Audient iD4 MkII, and Focusrite Scarlett 4i4 3rd Gen. This also doesn’t come with a hefty price tag and could go for just about a hundred dollars.
5. Headphones.
You need headphones so you could listen to the audio and reference what you are currently recording. When shopping for one, look for “professional,” “studio,” or “reference” in the label. To get an honest representation of your recording, the frequency response should be as flat as possible. If you’re looking to advance, you may get studio monitors but note that these are more expensive and they’re really loud which your neighbors might not like.
6. Studio Desk.
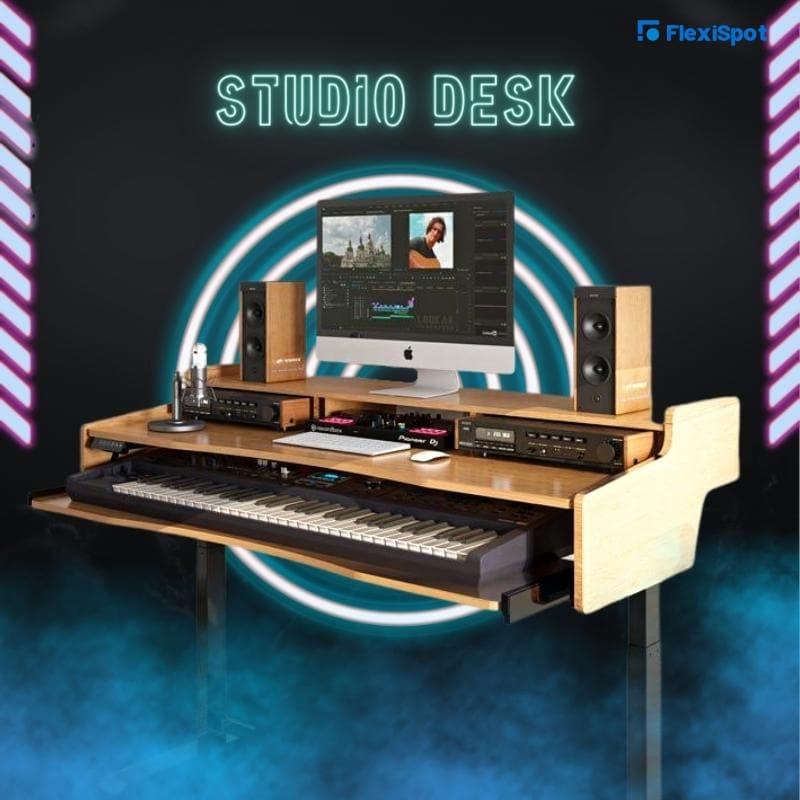
To set up your music production studio at home, you should at the very least have a studio desk. It will make the production process more convenient and easier to finish. There are also studio standing desks that are available in the market. Take for instance FlexiSpot’s new product, the Studio Standing Desk ESD101 that has an 88 keyboard tray and a spacious working surface with a 6U rack space (for the amplifier and equalizer) and a large top shelf (for two display monitors and speaker monitors). It also comes with a programmable controller that allows you to shift from sitting to standing while making your own music.
